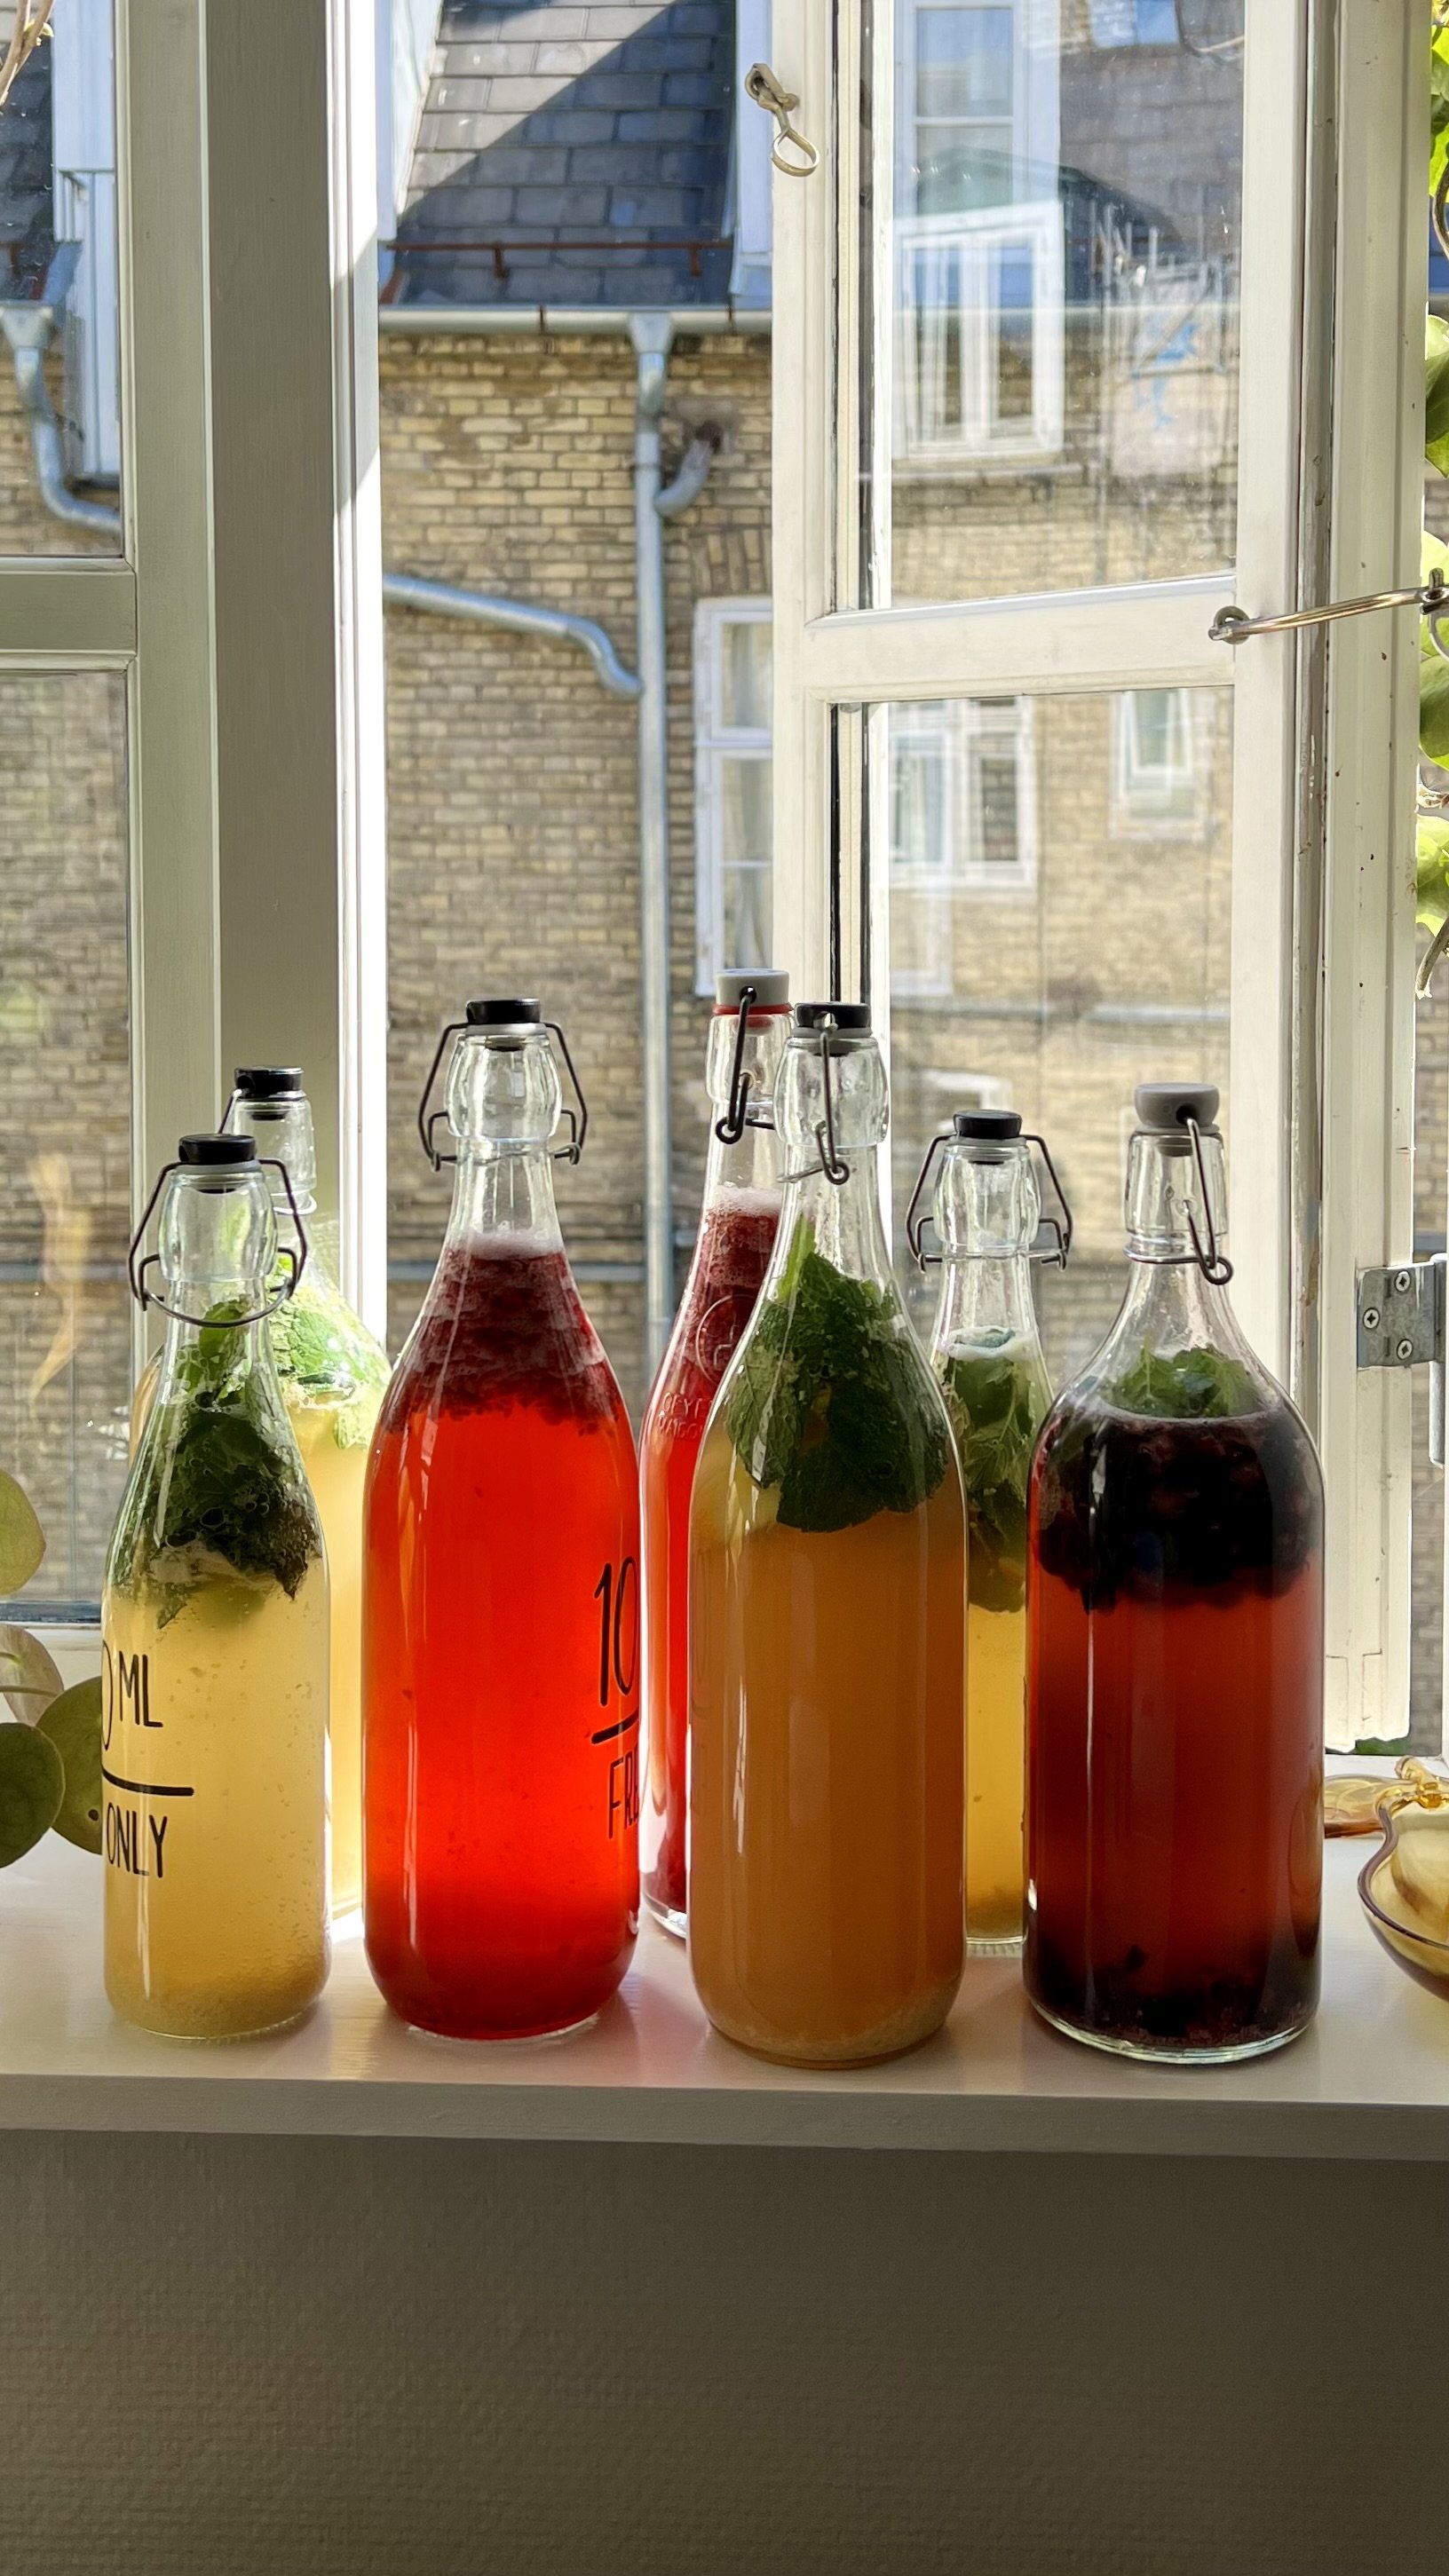
Struggling getting your kombucha fizzy? then follow these 7 tips…
Tip no. 1 - Active starter
Your starter liquid is the foundation of every good brew and when it comes to carbonation, it might just be the most important factor of all. Starter liquid is the acidic kombucha you carry over from your previous batch and its job is twofold: it protects your new brew by lowering the pH immediately and it introduces live yeast and bacteria that will drive fermentation and ultimately create your fizz.
The key word here is active. A weak, old or inactive starter means weak carbonation, no matter how perfectly you do everything else. Always use starter from a recent batch or your SCOBY hotel, it should smell tangy and alive.
Avoid using liquid that has been sitting at the bottom of your fridge for weeks, it may still be acidic enough to protect your brew, but the yeast activity will be too low to give you reliable carbonation.
As a general rule, use around 10% starter liquid relative to your total brew volume. The more consistently you brew, the stronger and more active your starter becomes, so every batch you make is actually setting the next one up for success.
Tip no. 2 - Sugar source
Carbonation doesn't just happen on its own, it's produced by yeast consuming sugar and releasing CO2 as a byproduct.
That CO2, trapped inside a sealed bottle, is exactly what creates the fizz you're after. So if you're bottling your kombucha without adding anything extra, you're leaving your yeast with nothing to eat during second ferment. UNLESS you bottle earlier and there’s still some sugar left from your F1.
This is where second ferment gets exciting, because your sugar source is also your flavour source. Fresh or frozen fruit, fruit juice, ginger, honey, coconut sugar or even a small spoon of plain white sugar all work beautifully. Each one brings a slightly different character to your finished kombucha and the combinations are endless.
A few things to keep in mind: fruit with higher natural sugar content, think mango, pineapple or berries, will carbonate faster and more vigorously than lower sugar options. If you're new to second ferment, start with a small amount and work your way up as you get a feel for how quickly your brew carbonates in your kitchen.
Always make sure whatever you're adding is free from preservatives, which can inhibit fermentation.
Tip no. 3 - Temperature
Temperature is one of the most overlooked factors in carbonation and one of the easiest to get wrong without realising it. Your yeast is a living organism, and like all living things it has a comfort zone.
For kombucha, that sweet spot is somewhere between 22 and 26 degrees Celsius. Inside that range your yeast is active, happy and producing CO2 at a reliable pace.
Go too cold and your yeast slows down dramatically, which means slow or nonexistent carbonation. This is one of the most common reasons people end up with flat kombucha in winter. The brew isn't broken, it just needs more time and a warmer spot.
Go too warm and fermentation speeds up fast, which can lead to over carbonated bottles or a more vinegary flavour profile than you were going for.
The fridge is for stopping carbonation, not for building it. Always let your bottles sit at room temperature for the full second ferment before moving them to the fridge. In summer this might only take 2-3 days. In winter, plan for anywhere from 3 to 5 days. Get to know your kitchen's natural temperature patterns and you'll start to develop an instinct for timing that no recipe can give you.
Tip no. 4 - Bottles
All the yeast activity and sugar in the world won't give you fizz if your CO2 is escaping through a poor seal. Carbonation is essentially pressure, CO2 building up inside a closed environment and if that environment isn't truly airtight, the gas simply escapes and you're left with a flat bottle.
Flip-top bottles, also known as Grolsch-style bottles, are the gold standard for home kombucha brewing. The rubber gasket creates a strong, reliable seal every single time and they're built to handle the pressure that builds during second ferment. They're also reusable indefinitely with the occasional gasket replacement, making them a great long-term investment.
If you're using screw-cap glass bottles, they can work well but check the threading regularly. Worn threading means a compromised seal and a compromised seal means lost fizz. Avoid mason jars with loose-fitting lids, repurposed bottles with damaged caps, or anything that doesn't close completely tight. When in doubt, invest in proper brewing bottles. I have linked my favourite bottles here.
Tip no. 5 - Stirring
This is one of those tips that sounds almost too simple to make a real difference but it genuinely does and most beginners never think to do it.
During first ferment, yeast naturally sinks to the bottom of your jar over time. By the time you're ready to bottle, a significant amount of that yeast is sitting at the very bottom, which means if you bottle straight from the top you're distributing your brew unevenly, the first few bottles get very little yeast, the last ones get a lot.
The result is an inconsistent batch where some bottles carbonate beautifully and others stay stubbornly flat, even though you did everything else the same. The fix is incredibly easy: before you start bottling, give your first ferment a gentle stir to redistribute the yeast evenly throughout the liquid. Then bottle as normal.
This one small step means every bottle in your batch gets an equal share of the yeast it needs to drive carbonation during second ferment and you get consistent fizz from the first bottle to the last.
Tip no. 6 - Headspace
When you fill your bottles for second ferment, resist the urge to fill them all the way to the top. Leaving around 2 to 3 centimetres of headspace at the top of each bottle is a small but important detail that directly affects how well your kombucha carbonates.
Here's why: as your yeast consumes sugar during second ferment it releases CO2, which needs somewhere to go before it dissolves into the liquid as carbonation. That small gap at the top of the bottle is where the gas collects and builds pressure and it's that pressure that forces the CO2 into solution, creating fizz. With no headspace there's nowhere for the gas to accumulate, pressure can't build properly and carbonation suffers as a result.
Too much headspace, on the other hand, means there's too much air in the bottle relative to liquid, which can affect the flavour and slow things down. The 2 to 3 centimetre rule is a reliable sweet spot that works consistently across different bottle sizes and flavour combinations.
Tip no. 7 - Burping
Burping your bottles, opening them briefly during second ferment to release a little built-up pressure, is something you'll hear a lot of advice about in the kombucha community. Some people do it every day, some do it just once and then there are brewers who skip it entirely. And I am one of them…
The truth is, whether or not you need to burp your bottles comes down to one thing: the temperature in your kitchen. If your kitchen runs warm, fermentation moves fast and pressure builds up quickly, in that case, opening your bottles once or twice during second ferment is a smart move to avoid any explosive surprises. But if your kitchen is on the cooler side, fermentation is slower and gentler, pressure builds gradually and you can often leave your bottles completely alone until you're ready to refrigerate.
So rather than following a fixed rule, pay attention to your environment. Your kitchen temperature is telling you what your brew needs, you just have to learn to listen to it. Once you know how your space behaves across different seasons, you'll develop your own instinct for when to burp and when to trust the process.